CenterPoint® Accounting
- Conducting a Physical Inventory
Related Help
_24.jpg) Physical Inventory Process Video - Duration 5 min 35 sec
Physical Inventory Process Video - Duration 5 min 35 sec

A physical inventory count is performed to reconcile what is physically on-hand to the on-hand quantity your database displays. The difference between the database and the count is then recorded by creating a series of adjusting entries.
The physical count process allows you to freeze inventory in order to take physical inventory counts, calculate variances and update inventory based on differences in system quantities and actual counted quantities (physical inventory). Several inventory counts can be in process simultaneously. When lotted or serialized items are included in a count, each lot or serial number is listed separately for counting purposes.
The physical inventory process requires the Inventory module be purchased, installed and registered.
This document includes the following steps:
Step A: Create the Physical Inventory File
Step A: Create the Physical Inventory File
- Prior to creating the physical inventory file, be sure that transactions that have transpired on the shop floor have been entered in CenterPoint (purchase orders received, sales orders filled, etc.). Please refer to the Prepare for a Physical Inventory topic for more information on planning the inventory.
- Select Processes > Inventory > Physical Inventory Counts.
- Click New.
- Enter a Name for the physical inventory count, for example Warehouse Count 2023.
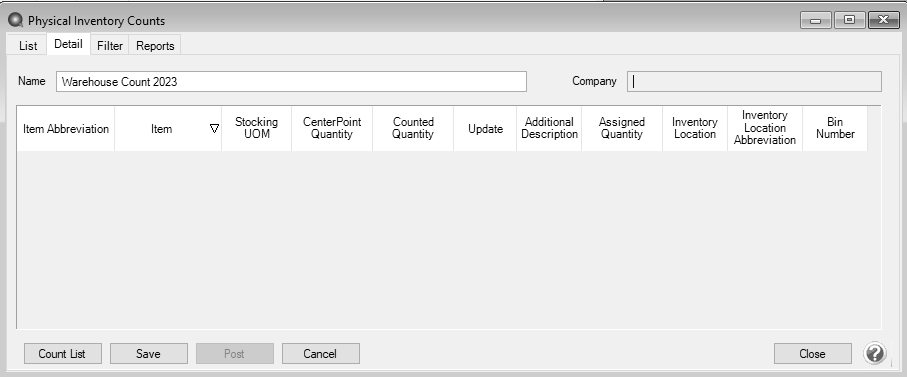
- Click the Count List button to specify selection criteria that determines which inventory items to include in the physical count.
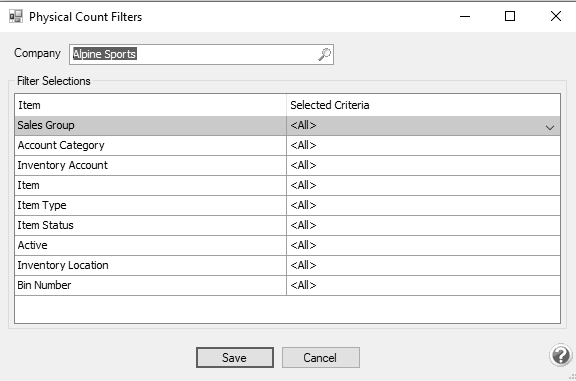
- Choose the appropriate Filter Sections to limit the count list for this inventory click Save.
Step B: Print Count Sheets
Count sheets are used during the inventory counting process to document the quantities that are physically available.
- Select the Reports tab and then select Transaction Reports > Inventory > Physical Inventory Count List.
- In the Report Selections, select the same criteria that was used in Step 5 above.
- Click Preview.
- The report, by default, will be sorted by Item Abbreviation and Item. If you'd like it sorted by Sales Group or Bin Number instead; click on the Group & Sort tab. Select the Available tab and then select Sales Group or Bin Number. Select the Selected tab and use the green arrow to move the selection above Item Abbreviation and Item.
- Click Refresh.
- Click Print.
- If you have lotted or serialized items, repeat steps 1-3, click on the Columns tab, click on the Available tab, select the Lot/Serial Info 1 -3 and Lot/Serial Number columns, click Refresh, and then click Print.
Step C: Physically Count the Items being Inventoried
Note: Once all items being inventoried have been counted, shipping and receiving activities can begin again.
Step D: Enter Physical Counts in CenterPoint
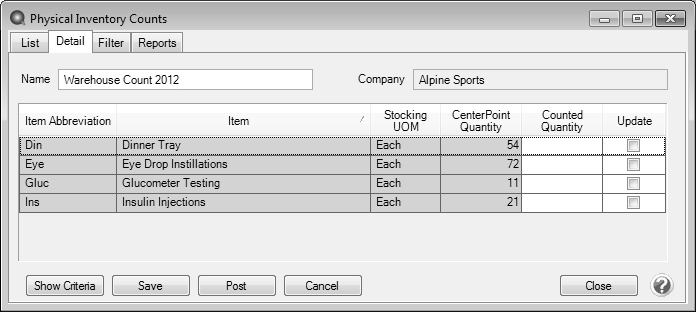
- Select Processes > Inventory > Physical Inventory Counts.
- Select the inventory file created in Step A and click Edit.
- Enter the quantities that were counted In the Counted Quantity field for each inventory item.
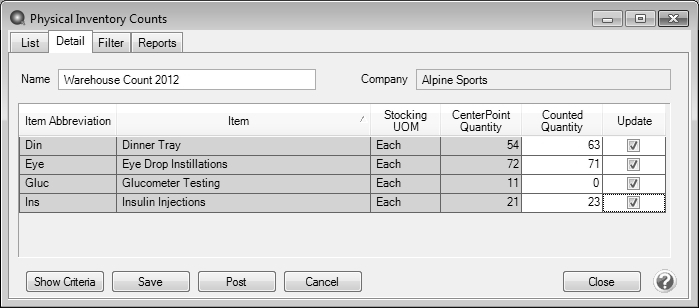
- If you need to stop entering counts at anytime, simply click Save to save the Counted Quantities to this physical inventory file.
- Once all counts are entered, click on the Reports tab to access the Physical Inventory Variance, Physical Count List, or Physical Count by Location reports. The Physical Count List and Physical Count by Location reports can be used to print or export open physical inventory count lists for open physical inventory counts.The variance report will display a list of inventory items in this inventory, the expected quantity, the counted quantity and the variance between the two quantities.
- Select Transaction Reports > Inventory > Physical Inventory Variance.
- In the Report Selections, select the physical inventory file in the Count field. Click Print.
- Click on the Detail tab to get back to the physical inventory details.
- If any corrections are needed to counted quantities, they can be made at this time. The variance report can then be rerun if needed.
- Once all counts have been entered and the variances reviewed, click Post to complete the physical inventory process and create the inventory adjusting transactions.
- Enter the date the counts were conducted in the Date field and click Post.
- Once the physical inventory is posted, the status will change to Closed (a Post Date column can be added to the List tab to view when a physical inventory was performed). The Physical Inventory Variance report can be printed again for inventories with a status of Closed and it will include quantity and dollar variances.
|
Document: 3214 |
|---|