CenterPoint® Accounting
-
Positive Pay Processing
Related Help
_24.jpg) Positive Pay Processing Video - Duration: 9 min 59 sec
Positive Pay Processing Video - Duration: 9 min 59 sec
 View or Print as PDF
Positive pay allows banks to match the checks a company/funds issues with those that are presented for payment. When checks are presented for payment against a positive pay protected account, selected check information is compared to the checks issued file. Checks presented for payment that fail to match with checks issued by a company/fund are rejected and the bank then contacts the company/fund that issued the file to determine if the check(s) should be paid.
Positive Pay file formats vary from bank to bank. CenterPoint has pre-defined format layouts and any format for any bank can be created. If your bank is not one of the pre-defined layouts, please contact Red Wing Software Technical Support for assistance on having a positive pay format defined.
Step A - Setup Positive Pay Information on Cash or Line of Credit Accounts (One Time Setup)
Step A - Setup Positive Pay Information on Cash or Line of Credit Accounts (One Time Setup)
- Select Setup > Accounts > Accounts.
- Select a Cash account or a Line of Credit account.
- Click the Detail tab.
- From the bottom left side of the screen, select a company/fund.
- On the Bank Detail tab, enter your Bank Account Number and Bank Routing Number.
- Click the Positive Pay Details tab.
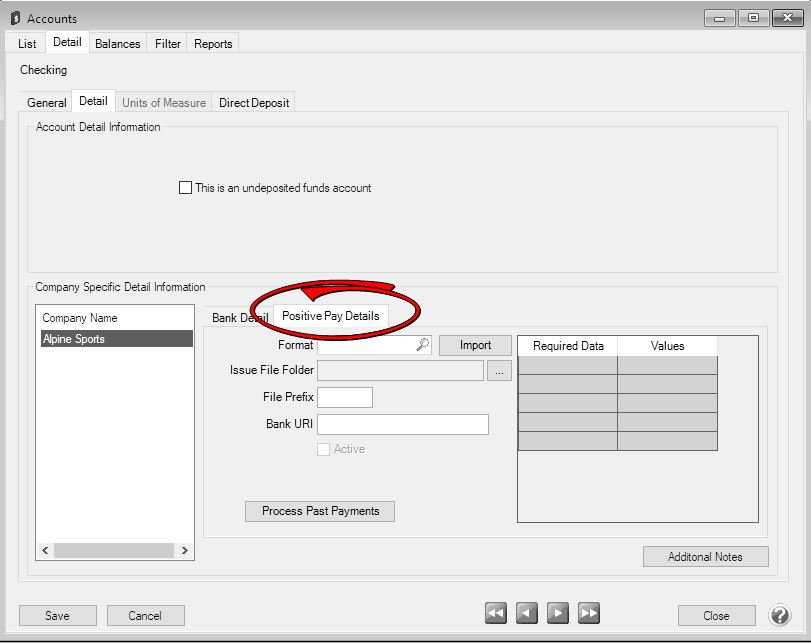
- In the Format box, click the Lookup icon and select one of the bank pre-defined positive pay formats.
Note: If you contacted Red Wing Software Technical Support and a new positive pay format was defined for you, click Import and select the location you saved the format.
- In the Issue File Folder box, click the ... icon and select the location on your computer where you want the positive pay issue file to be saved. This is the location from which you will upload the file to your bank.
- Enter a File Prefix that you want added to the beginning of the positive pay issue filename each time the file is created. The remaining characters will be based on the date of generation and the number of files generated within the day.
- Enter the Bank URI which is the web address that will be loaded into a browser window to take you to the bank's issue file upload screen.
- The Required Data/Values are specific pieces of information requested from the file format that are to be supplied by you if required by the bank. Up to five unique labels and values are allowed within the file format. The label is specified with the file format, and that label is meant to prompt you for the correct value. For example, if you are required to include a Branch Number in your positive pay file that information would be entered here.
- Click the Active check box. The Active check box must be selected to create publish pay issue files.
Note: If the next step is performed and you have never used Processes > Bank Reconciliation to reconcile cleared checks, all of the checks that you have ever printed will be included in the positive pay issue file.
- This step is optional, if it is not performed, the positive pay issue files will only include checks printed after the positive pay is activated. Click Process Past Payments to include All uncleared printed checks for this company/fund and bank that issued checks and were previously not in the positive pay issue file. The number of checks included in the positive pay issue file will be displayed.
- Click Save.
- Click Close.
Step B - Process Positive Pay Issue Files
- Select Processes > Banking > Positive Pay Issue Files.
- The Pending Check Entries will display on the Create New files tab. Pending Check Entries for this company/bank account combination include:
- Checks printed from a payment entered in Processes > Purchases > Payments.
Checks printed from a payment entered in Processes > Purchases > Payments and deleted in Transaction Search.
- Checks printed from a payment entered in Processes > Purchases > Payments and voided in Transaction Search.
Checks printed from Processes > Purchases > Pay Invoices Due.
- Reprinting checks/changing check numbers in Processes > Purchases > Print/Email Checks/Invoices or Transaction Search.
- Checks printed from Processes > Payroll > Pay Employees > Post & Print. Positive Pay will not support tracking checks for payroll posted in summary. Note: Direct Deposit Advices are not included in a positive pay file.
- Reprinting checks/changing check numbers in Processes > Payroll > Reprint Payroll Checks/Advices.
- Change checks numbers in Processes > Payroll > Edit Check Numbers.
- Select a Pending Check Entry from the left side of the screen.
- The right side of the screen will display the Issue File Folder and Issue File Name created from the Positive Pay Details tab in Setup > Accounts > Accounts. Verify the Issue File Date.
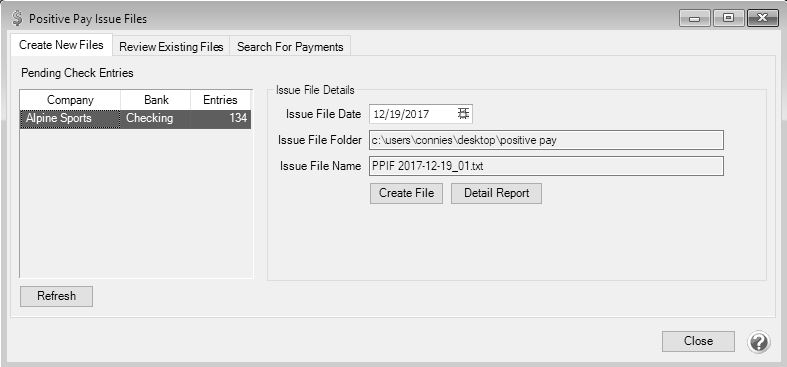
- To view the information contained in the Pending Check Entry, click Detail Report.
- Click Create File.
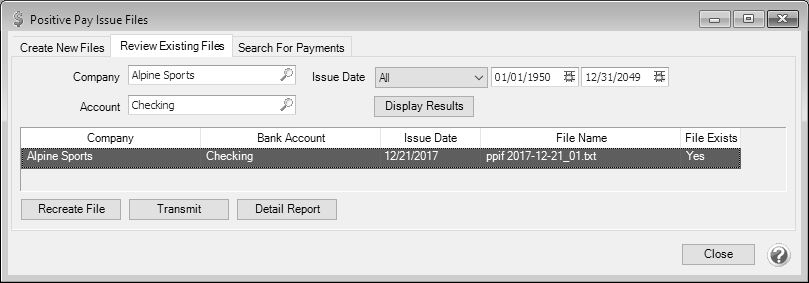
- To review created files, click the Review Existing Files tab, select the Company/Account Number combination and Issue Date or date range, and then click Display Results. Select a file and click one of the buttons to:
- Recreate File - Create the Publish Pay File again.
- Transmit - Opens the Bank URI web address from the Positive Pay Details tab in Setup >Accounts > Accounts. This button does not automatically transmit the file, you will need to upload the Positive Pay Issue file to the bank from this website.
- Detail Report - View a report about the information contained in the
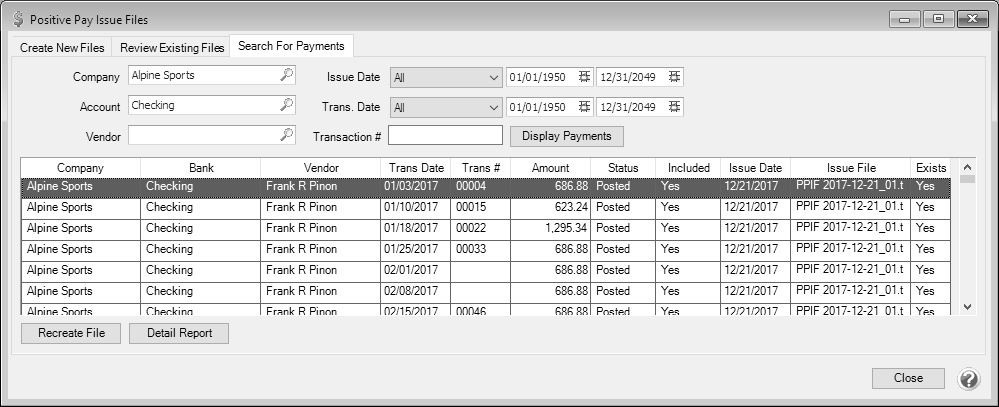
- The Search for Payments tab can be used to lookup information about payments in the event of a mismatch when a check is presented to a bank for payment.
- Enter specifics about the Company/Account Number, Vendor, Issue Date, Transaction Date, and/or Transaction Number and then click Display Results.
|
Document: 3327 |
|---|