CenterPoint® Accounting
- Red Wing® Cloud Services – Export Reports
Related Help

This document explains how to export reports in the cloud as either Excel, PDF, CSV, or RAW Data to a CSV file.
Create and Save a Report Export
Save and Locate Report Exports
Option A: Using a Mapped Drive to a Local Computer Path
Option B: Using a Cloud Storage Drive
Create and Save a Report Export
There are two options for exporting reports in the cloud:
Option A: From the Export button:
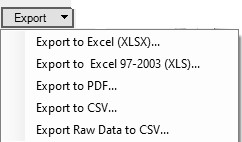
- From any report selection, click Export, then select one of the options: Export to Excel (XLSX), Export to Excel 97-2003 (XLS), Export to PDF, Export to CSV, or Export Raw Data to CSV.
Option B: From the Export Icon on the Preview toolbar:
- From the preview of any report, click
 , then select one of the options:Export to Excel (XLSX), Export to Excel 97-2003 (XLS), Export to PDF, Export to CSV, or Export Raw Data to CSV.

Save and Locate Report Exports
After selecting the type of export from either option above:
There are two options for saving and locating :
Option A: Using a Mapped Drive to a Local Computer Path
-
A screen similar to the screen below will display. Select your drive letter mapping that has been set up in the Local Drive Map Tool and click Save.
-
At the Report Exported to (mapped drive location) message, click OK.
Locate Report Exports Saved to a Local Drive Mapped Path
To locate a report export saved to your mapped local computer drive/path:
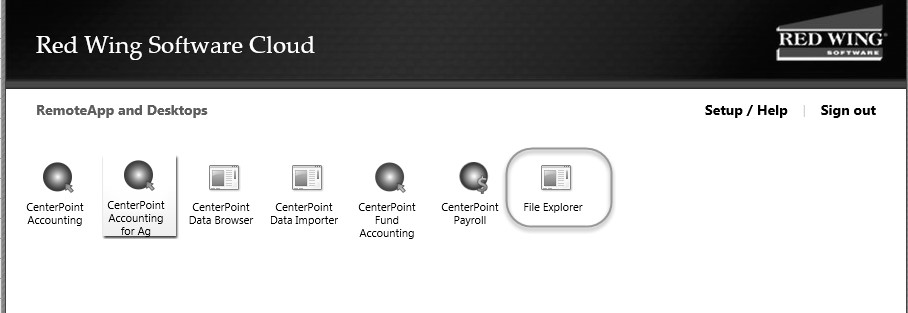
- If you connected to Red Wing Cloud Services via an Internet Browser (web) - Option 1 or via the Start Menu or Desktop icon - Option 3, select File Explorer.
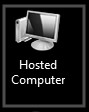
- If you connected to Red Wing Cloud Services via a RDP file - Option 2, select Hosted Computer.
Select the local drive/path (this location is set by using the Local Drive Map Tool) where you saved the exported report to display the exported file, or go to your local environment and open the directory exported to.
Option B: Using a Cloud Storage Drive
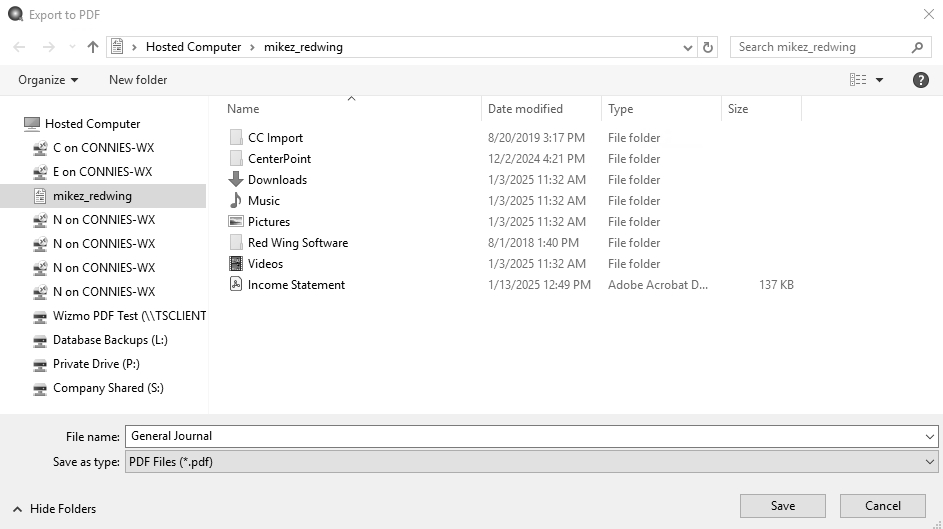
- A screen similar to the screen below will display, select Hosted Computer.
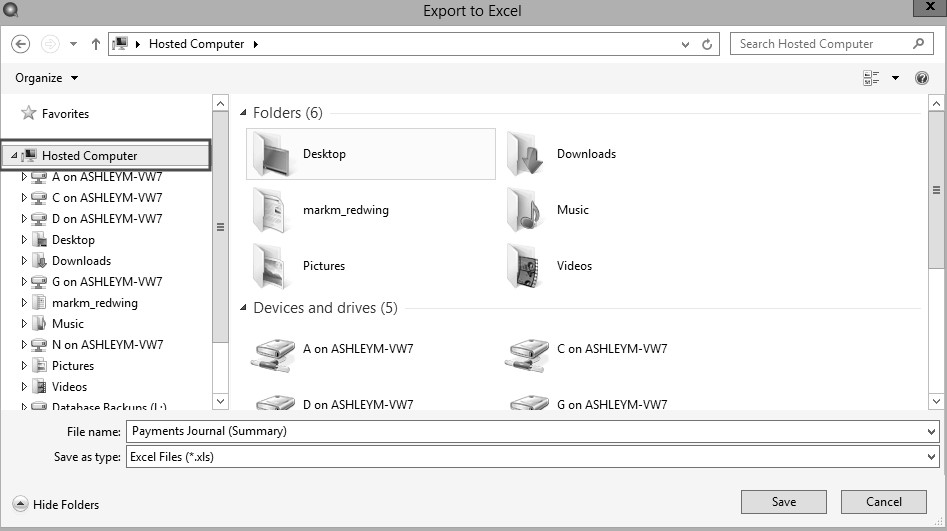
- Scroll down to display Network Locations.
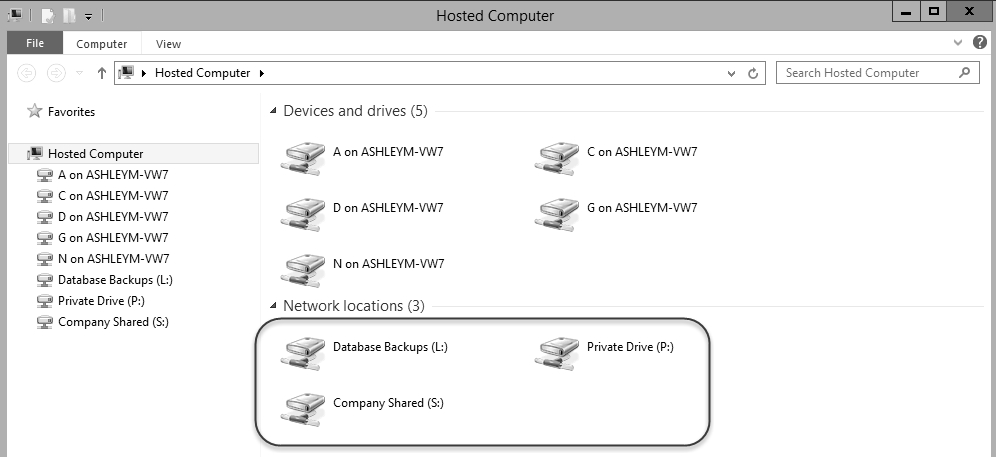
- The Excel, PDF, CSV, or RAW Data to CSV export can be saved to either the L:, P:, or S: drive, or any of your local computer locations that you have permission to access. If you send the file back to your local computer, you will need to browse all the way down to the specific folder location. For example, if you want to save a file to your local computer desktop, select C on "X" > Users > "username" > Desktop or use the Local Drive Map Tool.
Note: The P drive is a private drive to each user. If you have multiple users, and the file is saved to the P: drive, no other users will have access to the exported document - you will be the only user that can access the file.
- Double-click on either the L:, P:, or S: drive, or navigate to one of your local computer drives.
- The name of the report will display in the File name: box, the report name can be changed.
- Click Save.
- At the Report Exported to (location) message, click OK.
Locate Report Exports Saved to Cloud Storage Drives
To locate a report export saved to your Red Wing Cloud Services storage drives (L:, P:, S:):
- If you connected to Red Wing Cloud Services via an Internet Browser (web) - Option 1 or via the Start Menu or Desktop icon - Option 3, select File Explorer.
- If you connected to Red Wing Cloud Services via a RDP file - Option 2, select Hosted Computer.
- Under Hosted Computer, select the drive that you exported to.
- Locate and highlight the report export.
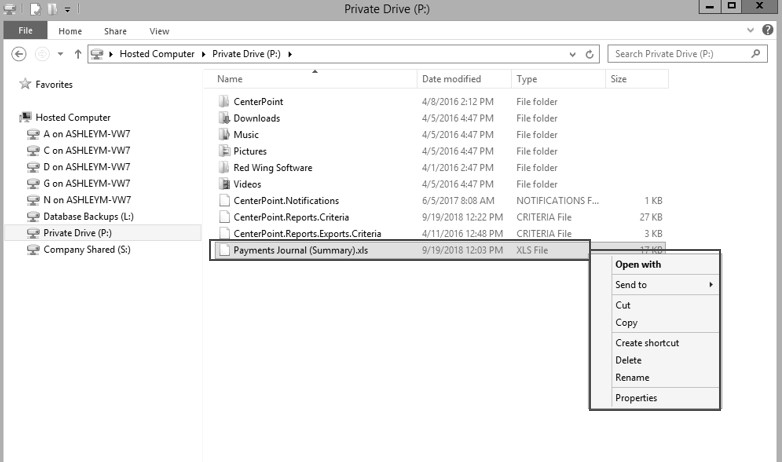
- After you have located your export, you can copy and paste back to your local computer or move it to any alternate drives available to you in the environment.
|
Document: 3349 |
|---|