CenterPoint® Accounting for Agriculture
- Schedule F Reporting
Related Help

| Document #: | 3045 | Product: | CenterPoint® Accounting for Agriculture |
|---|
Self-employed farmers report income and expenses from their farming business on Form 1040 Schedule F. There are three Schedule F formats available, depending on how much detail you would like to include. The amounts on the Schedule F pull directly from the balances of the accounts assigned to each row of the Schedule
This document explains how to:
Print a Schedule F Report (and specify how much detail is included)
Verify which accounts are assigned to each line of the report
Add or Modify which accounts are assigned to each line of the report
How to Print a Schedule F Report
- The Schedule F report is printed from Reports > Reports > User-defined/Tax Reports > 1040-Sched F.
- Select Setup > User-defined/Tax Reports.
- Click on Tax Reports. Select the 1040-Schedule F and click OK. Then click Close.
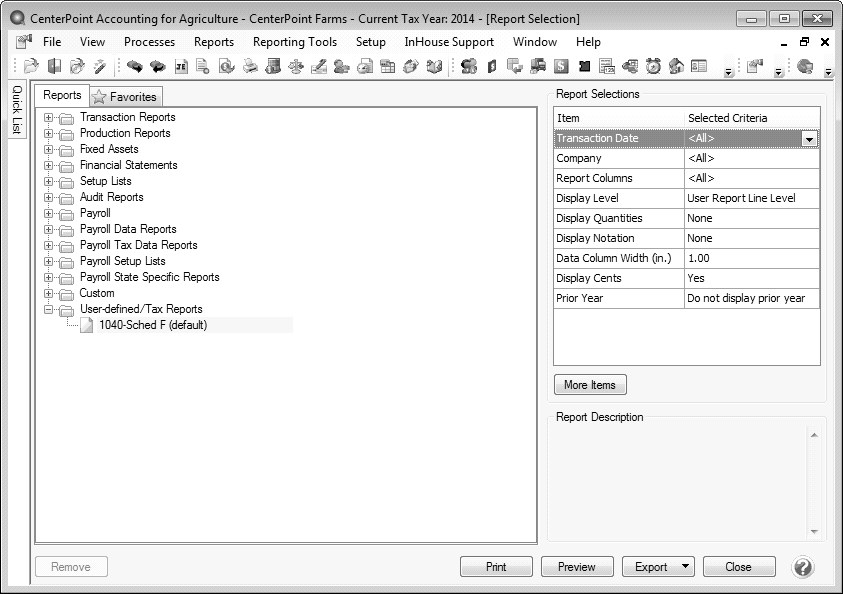
- In the Report Selections, choose the appropriate Transaction Date (normally this would be an entire year) and Company.
- The Display Level is used to specify how much detail should be included on the report.
- User Report Line Level: Displays totals for each line of the Schedule F.
- Account Total: Displays totals for each line of the Schedule F and subtotals under each line for each account used.
- Individual Transactions: Provides transaction activity for each account in each row. This level includes the most detail.
- Select if it should Display Quantities and Display Notations. The More Items button provides additional Report Selections, such as Display Cents, Report Columns and Data Column Width (in.).
- Click Preview or Print.
How to Verify which Accounts are Assigned to the Rows of the Schedule F
A report can be run to review the accounts assigned to each line of the 1040-Schedule F report (or any other User-Defined report).
- Select Reports > Reports > Setup Lists > General > User-defined Reports Account Assignments.
- In the Report Selections, choose 1040-Schedule F in the Report field.
- Click Preview or Print.
How to Add or Modify Accounts Assigned to Rows in the Schedule F
- Select Setup > User defined/Tax Reports.
- Select the 1040-Schedule F and click on Edit.
- Select the Account Assignment tab.
- The Report Rows (left side of the screen) will display all rows of the Schedule F. Rows with a red icon have no accounts assigned. Rows with a green icon indicate accounts are assigned to this row. Expand the row to display the assigned accounts.
- The Accounts (right side of the screen) grouped by Type and Account Category. Expand the Type or Account Category to display the Accounts. All accounts with a gray icon indicate that it is assigned to a row on the left. Accounts with a red icon are not assigned to any rows.
|
Document: 3045 |
|---|